 Hey there! Catherine here with the second of three posts on documenting the school years using a pocket page album.
You can catch up on last month’s post here, where I shared an overview of how I’m approaching documenting our two sons’ school years.
This week I’m sharing a simple annual title page and how I’ve set up templates I can use year after year.

If you’re a mom you know that the school work, photos, memories, field trips, spring break trips and holiday concerts pile up quickly.
And having more than one school-aged kiddo only compounds the issue.
I wanted to take a really simple approach to the school years, so I’m starting with one 12×12 pocket page album for each of our two boys and creating just a few layouts for each school year.
Inevitably, we’ll save different types of artifacts, school work, and photos each year, but I wanted to have a couple of consistent elements throughout the album.
So I created a very simple 12×12 title page, which is backed by a 12×12 timeline.


I’d love to create both of these pages – the timeline and the title page – for each year in the albums.
I think having a few recurring elements in a pocket page album helps the project feel more simple and cohesive.
For these templates, I used Liz’s hand-lettered word art to emphasize the school year and kept the rest of the design pretty minimal.
And to keep things consistent for subsequent years, I went ahead and set up and saved all of the templates to my hard drive and my Dropbox account so I’ll be able to access them each year.
Here’s how I set up the templates so I’m ready to document in the years to come.
Step 1: Set up the template
I used Photoshop to set up a new document. I set the color to RGB and the resolution to 300 ppi.

For the title page I added our son’s school photo plus the hand-lettered grade from Liz’s school years word art, the school(s) and dates for that year in a favorite font, and a little stripe of digital paper along the bottom to frame the page.

Step 2: Prep your template
I added grid lines along the edges of the photo, along the word art, text, and digital paper, so I could strip the document of large files (like the photo and digital paper) and still keep the appearance of each year’s title page looking consistent.


Step 3: Modify and save individual years
This step takes a few minutes, but it means you’ll do it once and be done.
Since the template was ready to go, I just dropped the new word art in the file, clicked “save as” and saved the individual files so they’re prepped for future years.


Once I got through grade six, I uploaded the Photoshop files to my Dropbox account and backed them up on my hard drive.
I also saved the timeline template for future reference.
Just a little bit of prep should make it easy to put these pages together in the years to come.


Next month I’ll share how I’m storing, capturing, and saving school work throughout the year as well as documenting it in their albums.
Whether you’re reading this at the beginning, end, or somewhere in the middle of a school year, it’s never too late to start documenting.
What are your plans for your kiddos’ school work, art, and other mementos?
Please say hello! You can find me on Instagram, Pinterest, or over on my blog.
XO,
Catherine
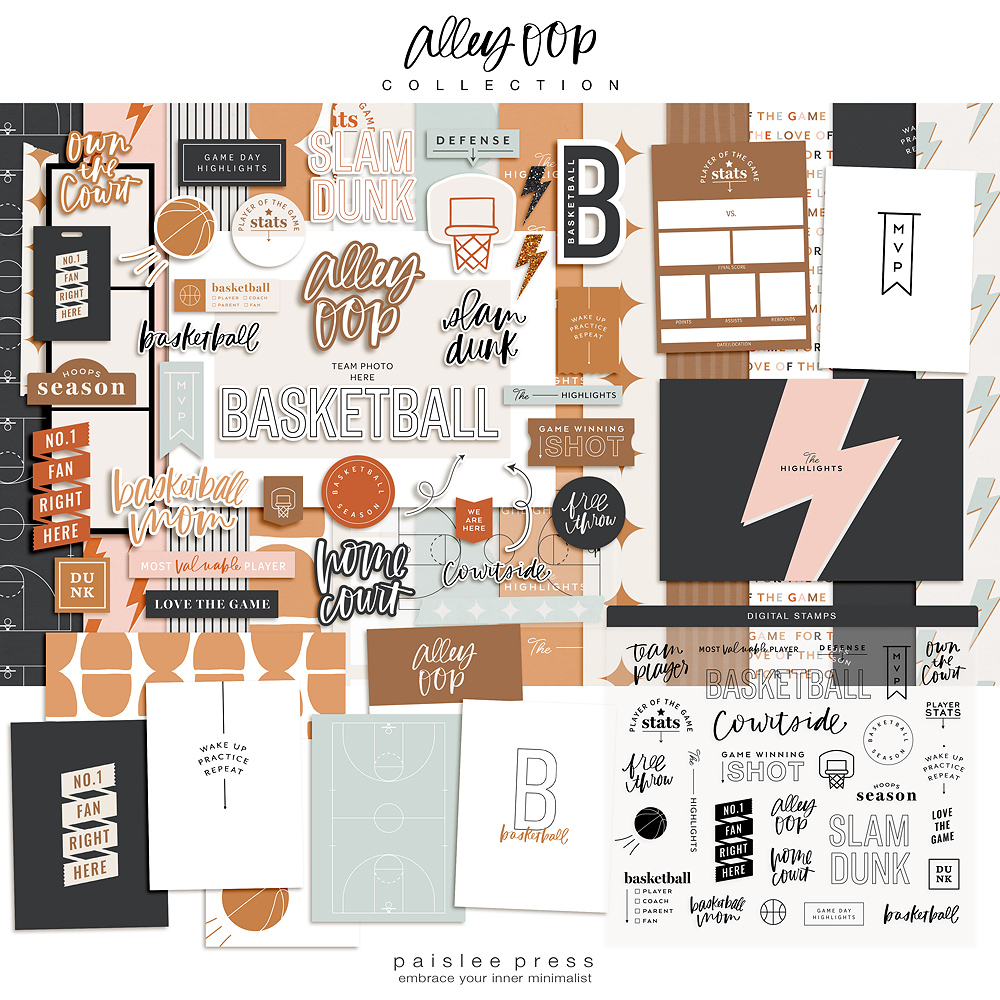
Paislee Press digital products used: School Years Word Art, Timeline Layered Templates, Back to School Templates, Back to School Journal Cards.


Thank you for this post! This tutorial
Is exactly what I needed! 😊
I’m so glad, Margot! Thanks for commenting 🙂
Hi, Thanks so much for this kit it is a lot of help documenting my daughter’s school years. Everything is currently in big bags around the house. I have one request though, is it possible to have the word, “year” in the hand lettering font that we can swap for “grade”. I am from the UK and we don’t have grades we have nursery, reception and then school years. Thanks so much.