 Last month, I shared a simple tutorial for one of my favorite photo book design hacks, how to add digital papers to your photo books.
I love the simplicity of just adding digital papers to photo books, but maybe you’re interested in customizing your photo book pages even further using Photoshop or InDesign. If so, you’re not alone.
Jen left the following comment on my last post:
I actually have a request. Could you do a tutorial on how to make your own pages using Paislee templates and add them to a photo book. So all you need to do is create your pages in photoshop or whatever software you prefer and then add them to your book and print instead of having to add the pictures and the backgrounds and what-not.
You’ve got it, Jen!
If you’re comfortable using Photoshop, it’s really simple to put together photo book pages using digital elements, lettering, and templates.
The best part is that you can design the pages over time, save them, and then upload everything to print when you’re done. Once you design the pages, the project comes together so easily.
Here’s how you do it.

Start with a little planning.
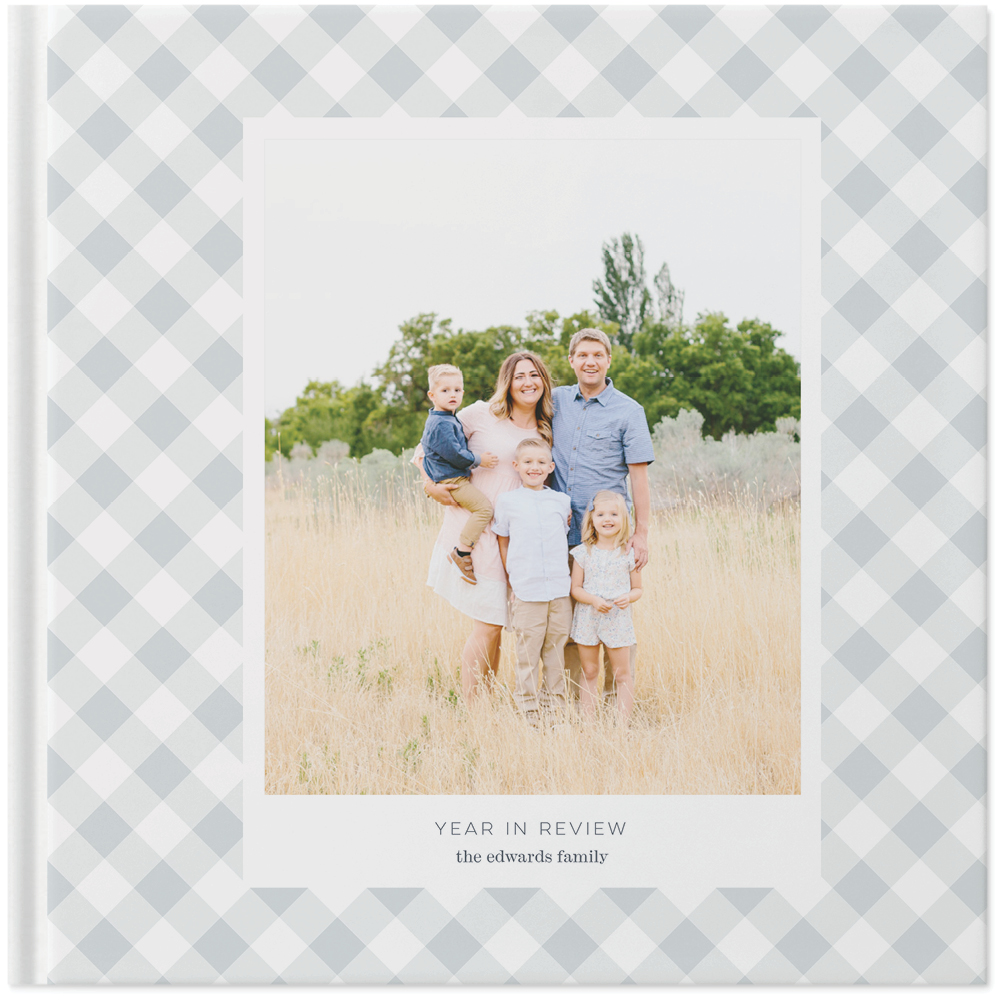
Determine the who and the what: who’s printing your photo book and what size will it be?
Don’t overthink this one. Blurb and Artifact Uprising are my faves, although I’ve also printed projects at Shutterfly and been happy with the quality (and the price) and I know Caylee raves about Milk / Moleskine books.
Once you have an idea of the size book you want to design, create a print template in Photoshop that matches the dimensions of your book.
Make sure the resolution is set to 300 ppi and the color mode is set to RGB (or whatever your printer recommends).

Start designing!
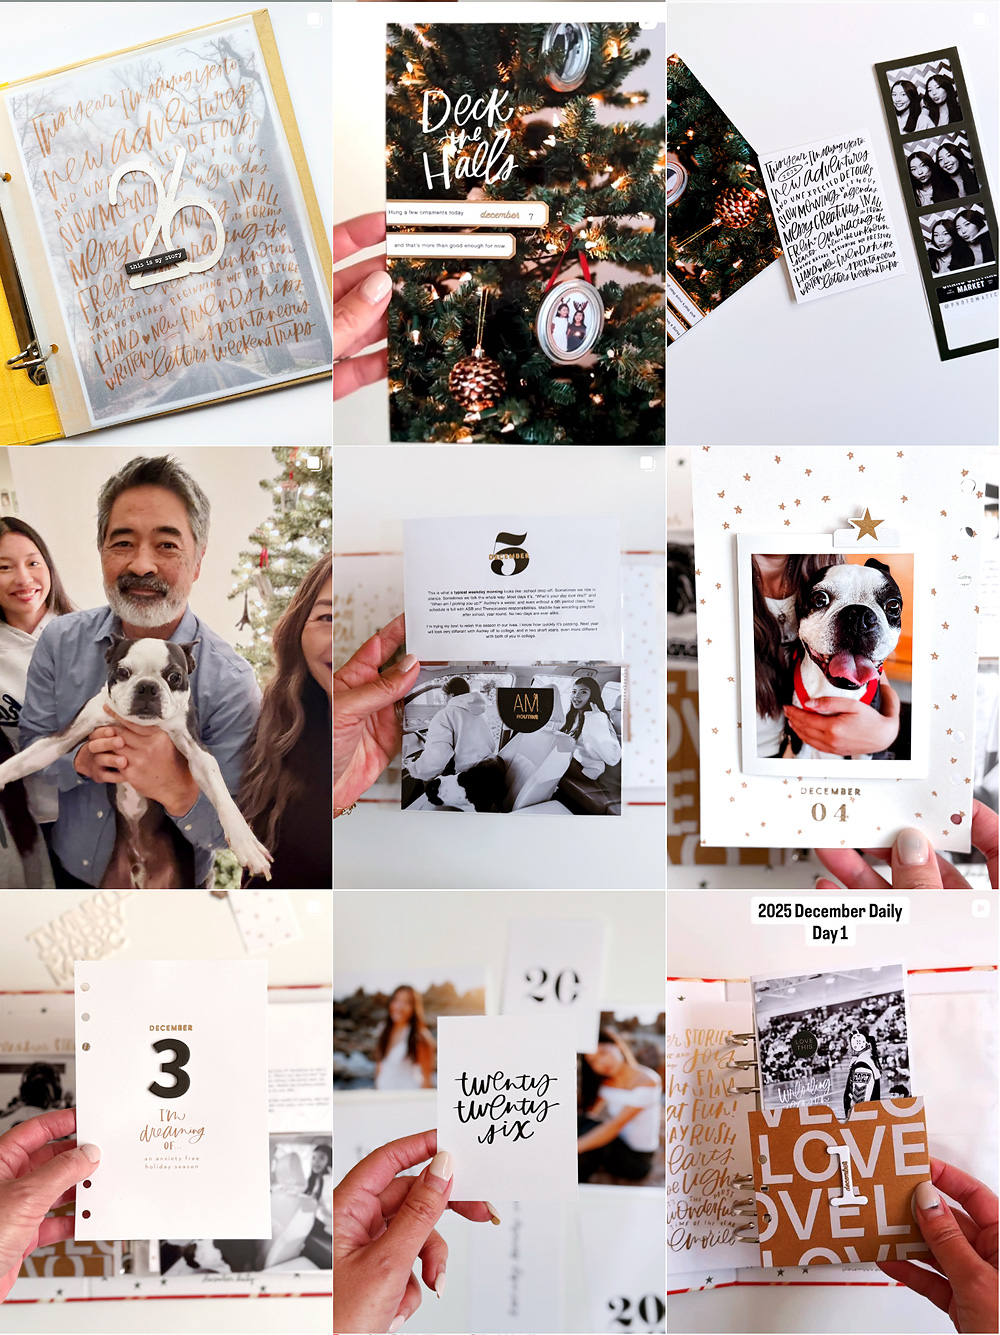
Use templates, elements, and digital papers to create the pages in your photo book. Liz even has photo book templates in her shop.
Use your Photoshop template as the canvas and fill in with photos, a collage, digital elements, lettering, or patterns.
Design your photo book page like you would any other digital scrapbooking page or photo, making sure to inject plenty of white space and minimal elements to keep the designs simple and cohesive throughout the project.

Get creative.
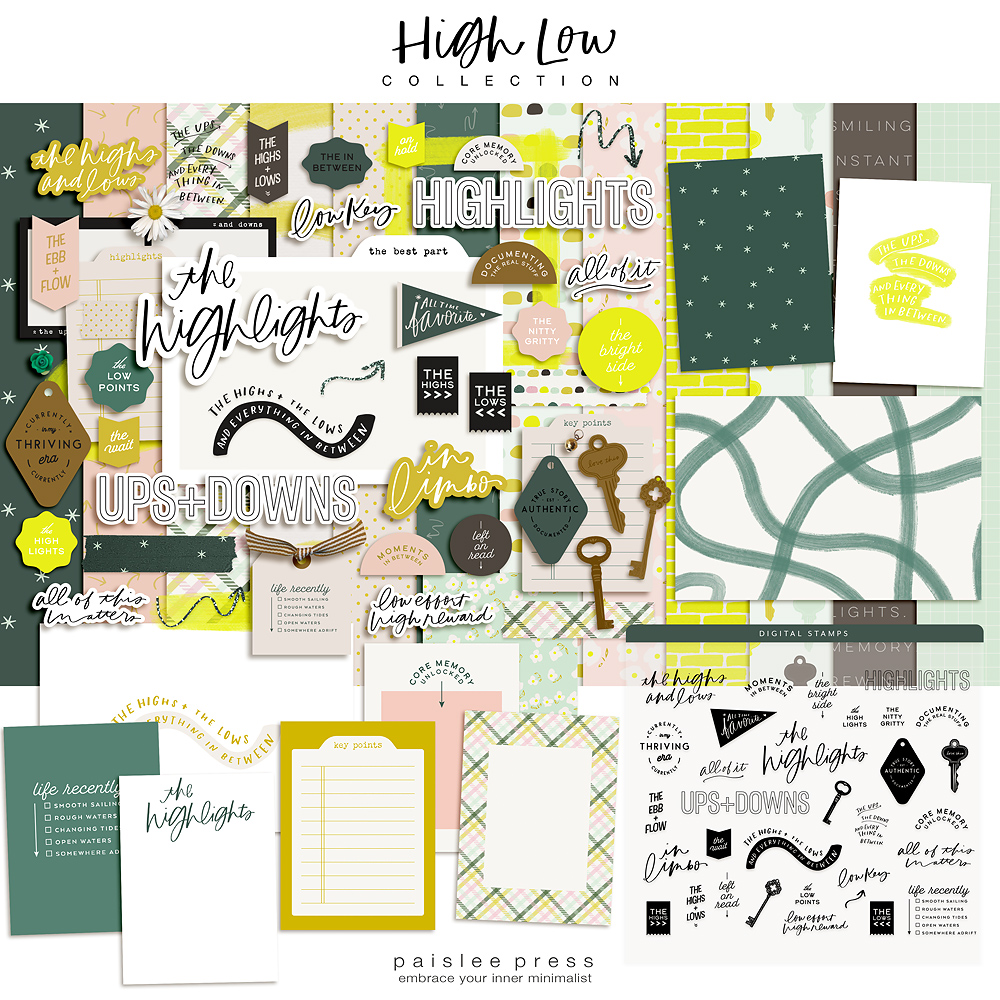
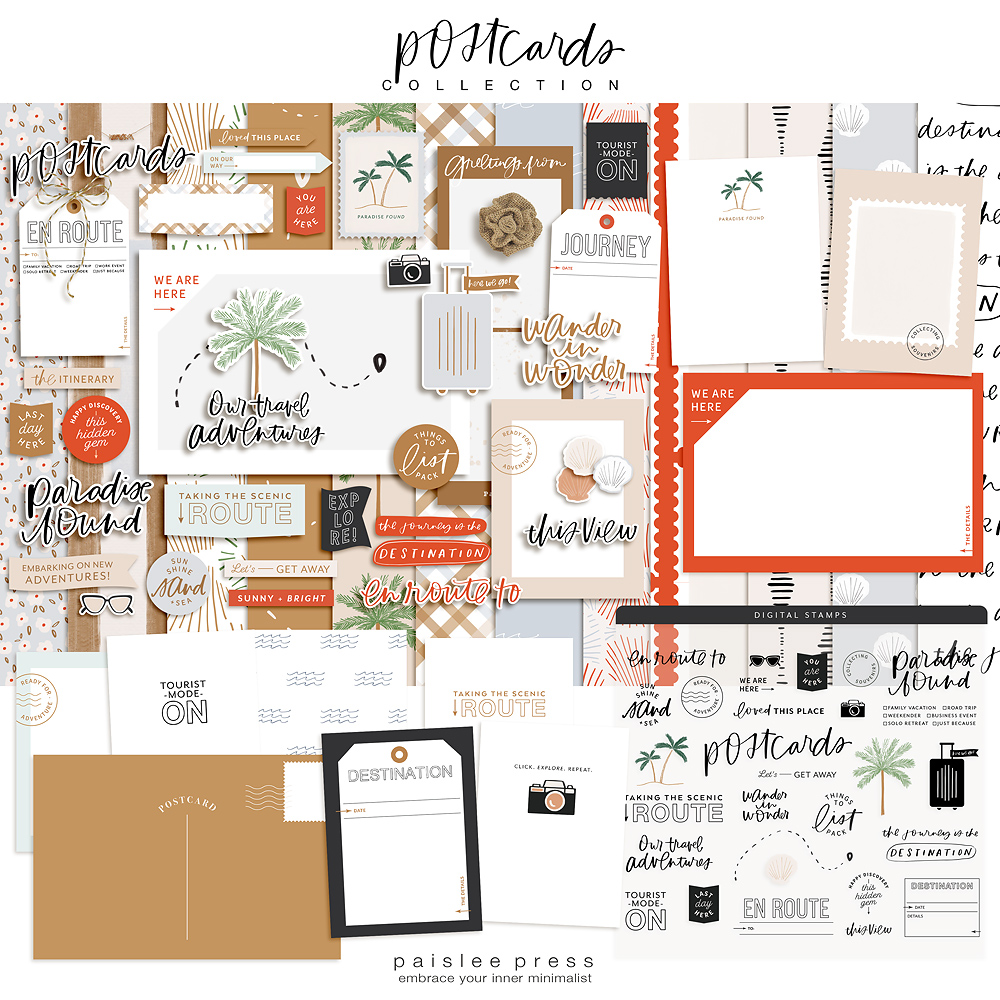
Liz’s shop is a treasure trove of design elements, templates, and ideas.
I like using photo frames from Liz’s December You are a Fave collection, with lots of white space to spare. Or using text from one of Liz’s kits alongside a photo for a simple embellishment.
The key to keeping it simple is not overdoing the design, although including some of these elements will keep your photo book interesting!
In a photo book, I also like to alternate a page with several photos or more design with a page that has just one large photo.
Mix it up, experiment, create pages you love.


Save (and organize!) your work
As you’re designing, create a folder so you can keep all of your pages together and work on the project as you have time.
 I like to number all of the pages and then just upload all of the jpegs at once to whatever printer I’m using.
I also recommend saving each page as both a Photoshop (.PSD) and Jpeg file, so you can edit the Photoshop files and re-save them if you need to add text or change up a photo. This will save you the headache of having to recreate pages from scratch should you want to make one little change (been there, done that!).
I also add single photos I know I might want to include in the photo book to the same folder. That way when I go to print the photo book, I have all of my photo options and completed pages in one place.

Upload your pages
I detailed how to do this in my previous post, but once you have a bunch of jpeg images saved, you can simply upload them to whichever photo book printer you’re using and add them to your project as single, full-bleed images.
Play with designed pages opposite single photos, create title pages to separate sections of your photo book, and don’t forget to include white space!
You’ll be so happy to have a folder full of designed pages to upload to your photo book in one fell swoop.


 What memory-keeping projects are you tackling these days?
xo, Catherine
You can see more of my projects here or come say hi over on my blog.
Paislee Press products used: Press Plate no. 25, Off to Press templates, scenic route elements, December you are a fave no. 5, Year one baby album, off to press vol. 1 and 2


Thanks for the information Catherine. I really appreciate it! There is one question I thought of…do I have to worry about building in space for the binding? So if I’m working on a left-hand page do I need to worry about adding a 1/4 inch margin on the right-hand side so I won’t lose part of a picture in the binding in the middle? I was thinking about if I wanted to do a picture that spreads over two pages or if I do 4 pics in a row that butt-up against the edges of the page. Do you have any advice on this? Thanks so much! Jen
Hi Jen! Yes, some of your work will be lost in the “gutter” of your layout. This amount varies depending on the printer, the binding you choose, whether the project is hardcover or softcover, and the amount of pages you include. Blurb has really detailed instructions for what you might lose of your images. When I’m doing a full page photo, I just upload a high resolution photo and set it across both pages in the vendor’s uploader online. I don’t usually create those pages in Photoshop, just so I make sure I won’t lose anything too valuable. For single-page spreads, I just make sure to keep anything super important out of the margins. I’ll set photos across the page but knowing I’ll lose a bit (maybe 1/8 inch) to trimming and binding. I hope that helps! xo, Catherine