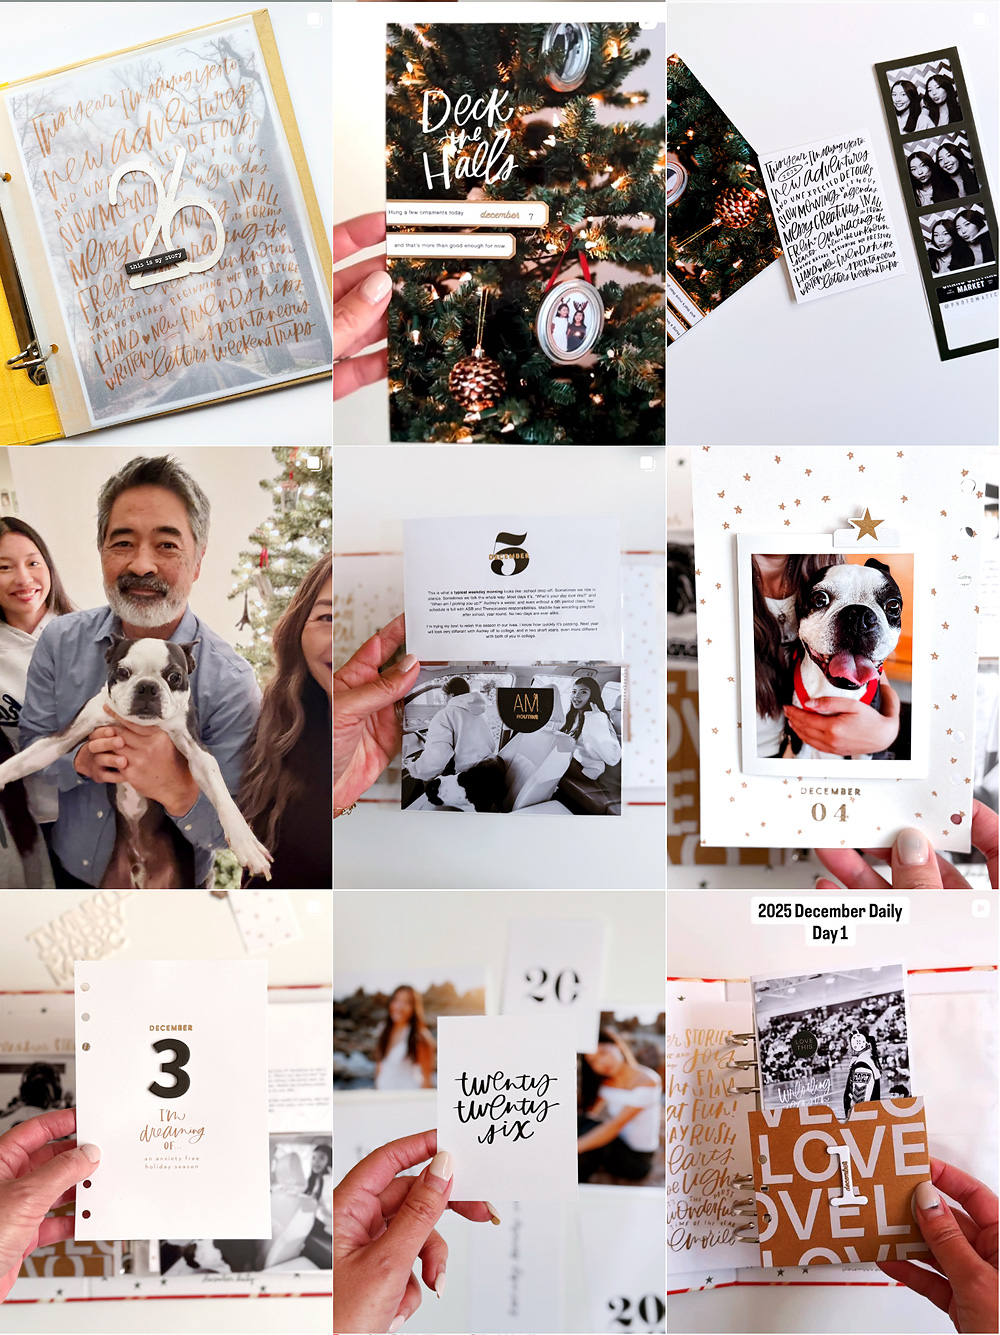
Good morning! It’s Carly here today to share my quick 5 step process for creating my project life album pages. I don’t have a lot of time to document so streamlining my process and keeping my pages super simple is key in keeping up.
Step 1 – picking the story I want to tell
I keep a long list of things I want to capture at the front of my project life album and whenever I’m feeling stuck as to what to document for a particular week, I will look at my list for ideas. This list definitely keeps me motivated to continue to document and keeps me from getting into any creative ruts.

Step 2 – choosing my photos
Whenever I upload photos from my camera to my computer I immediately go through them deleting what I don’t want and labeling what I might use in which documenting project. I then edit those selected photos and place them in individual project folders on my computer’s desktop for future use. When I know what story I want to tell I will go through my image folders and pick the photos that fit. Some folders have everyday ordinary images sorted by month and other folders are for particular documenting projects like My Letters to My Daughters albums.

Step 3 – designing my page
When I first started my Project Life album I would sketch out my page design on a scrap piece of paper. I would draw the Design A page pocket layout on the paper (which is the pocket page I use the most) and hand-sketch what photo would go where and where my journaling would also go. Because I have been doing Project Life for such a long time and I have a very specific design style, I can just do this step in my head now. I literally go from knowing what story I want to document, flip through the photos I have and in my head I can visually design the page. However, if you are new to Project Life, or if you are still finding your style, I would highly suggest drawing out your page layouts first. You will be surprised as to how helpful it is.

Step 4 – printing my photos
Now that I know the photos I want to use I will flip through each of them one last time on my computer and say to myself, “should I add journalling or a digital stamp to this photo?” If not I will print the photo immediately, if yes I will open it in Photoshop and add my text or a digital embellishment, and then print from there. For me this process is pretty fast because I already have the page design in my head from Step 3.

Step 5 – pulling the layout together
This last step takes no time at all because I already have in my head the layout design, so it is now just a matter of taking the printed photos and any journaling cards, and inserting them into the page pockets. Sometimes I might have to do a small tweak here or there because what I envisioned doesn’t workout, but usually it just entails moving a photo from one pocket to another. Nothing too major. Lastly I will add any physical embellishments if I feel the page needs it and I’m done!

Keeping my pages really simple and my design process streamlined allows me to pull my pages together in just minutes. My biggest advice is to find a style that works for you and don’t be afraid to stick with it. For example, I use the 3×4 Minimalist photo templates in almost all my page layouts and the top left pocket on my pages typically always has a photo on one side and journaling or a digital stamp on the other. I’m completely okay with utilizing the same design layout in all my pages. For me if something works why not just go with it and on the plus side it builds continuity throughout my album which for me is always a good thing.
Do you have a go-to design layout you like to use or a similar process for pulling your pocket pages together? Please share!
– Carly
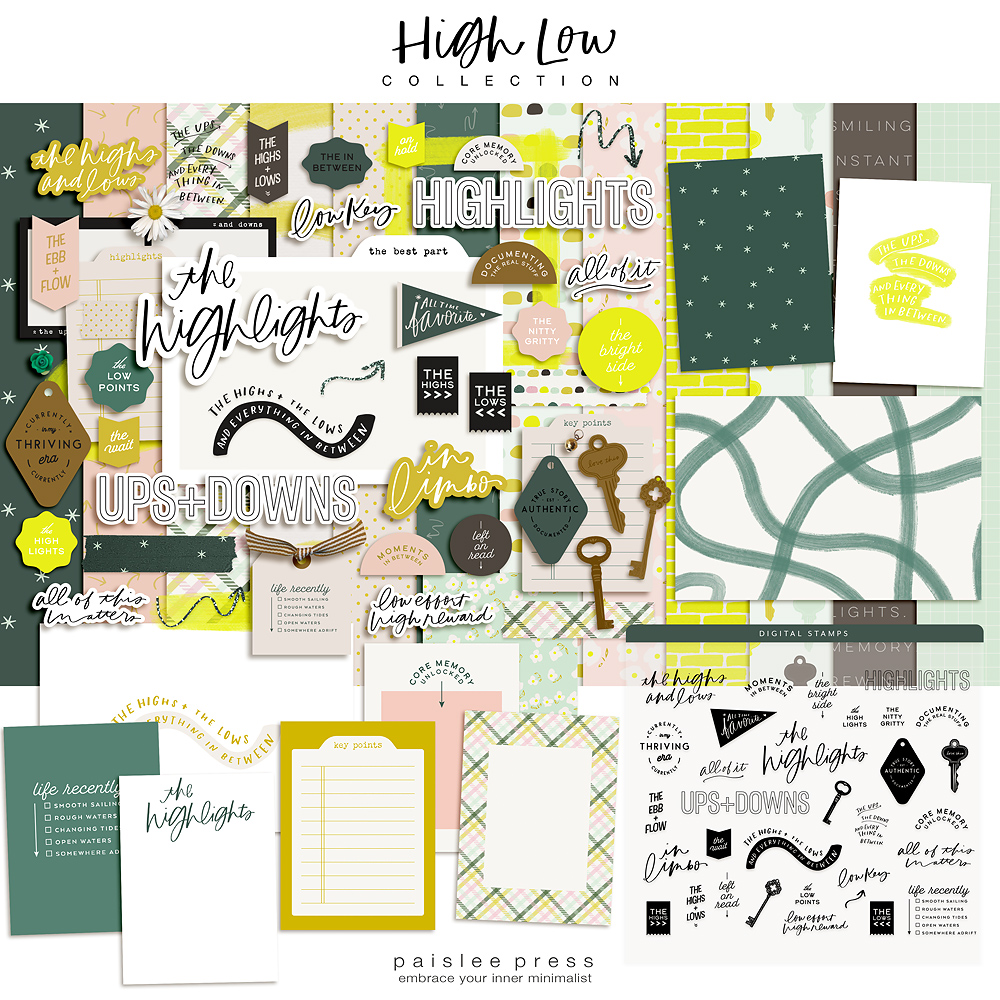
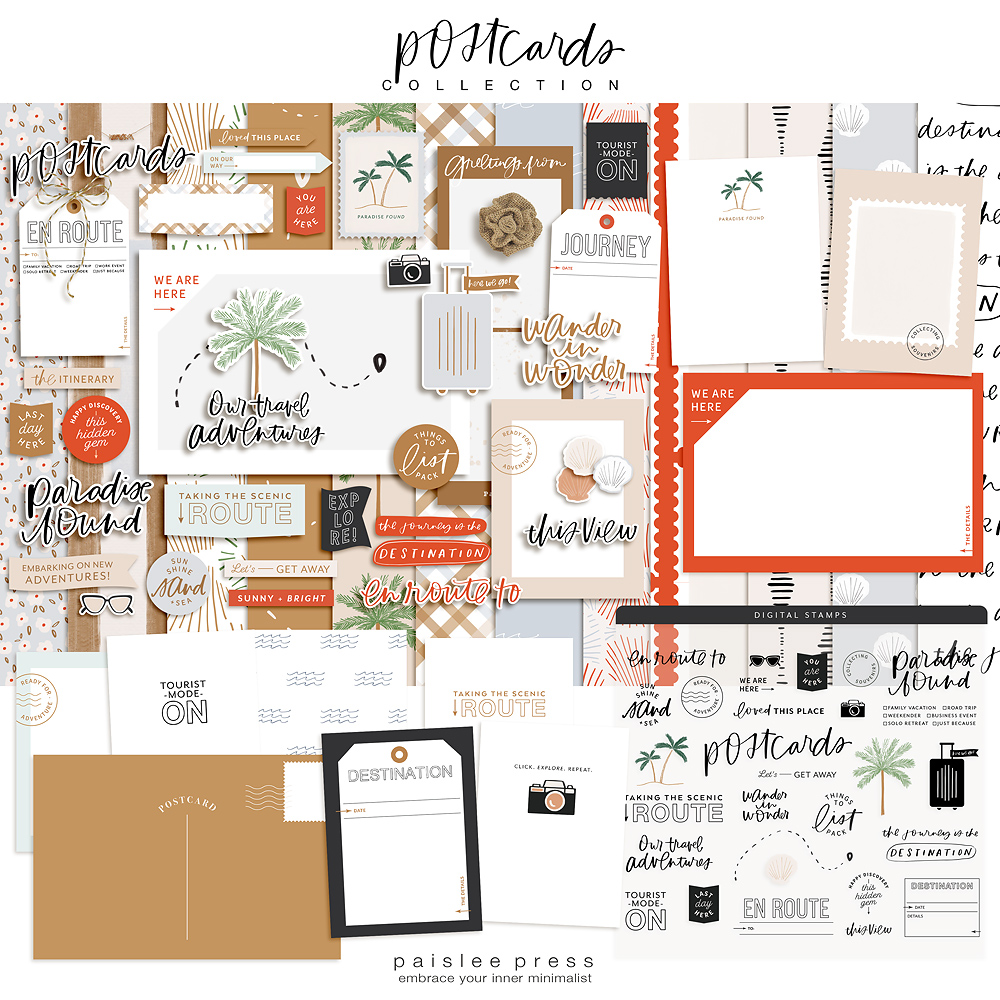
Products used: 3×4 Photo Templates, 2017 Calendar Cards Bundle, 2017 Calendar Title Cards, At Home Kit and Minimalist 4×6 Photo Templates.
To see my other Paislee Press projects you can visit here, and of course you can always visit me at my blog, on Instagram or see what’s been inspiring me lately over at Pinterest.