
Hi guys! I’m Lauren from Lauren-Likes Blog and I am so honored and excited to be here sharing this simple but genius tutorial with you. This is one of my favorite, easy minibook go to tricks as it is a good way to use your digital papers or cards as book pages without having to do too much extra embellishing.
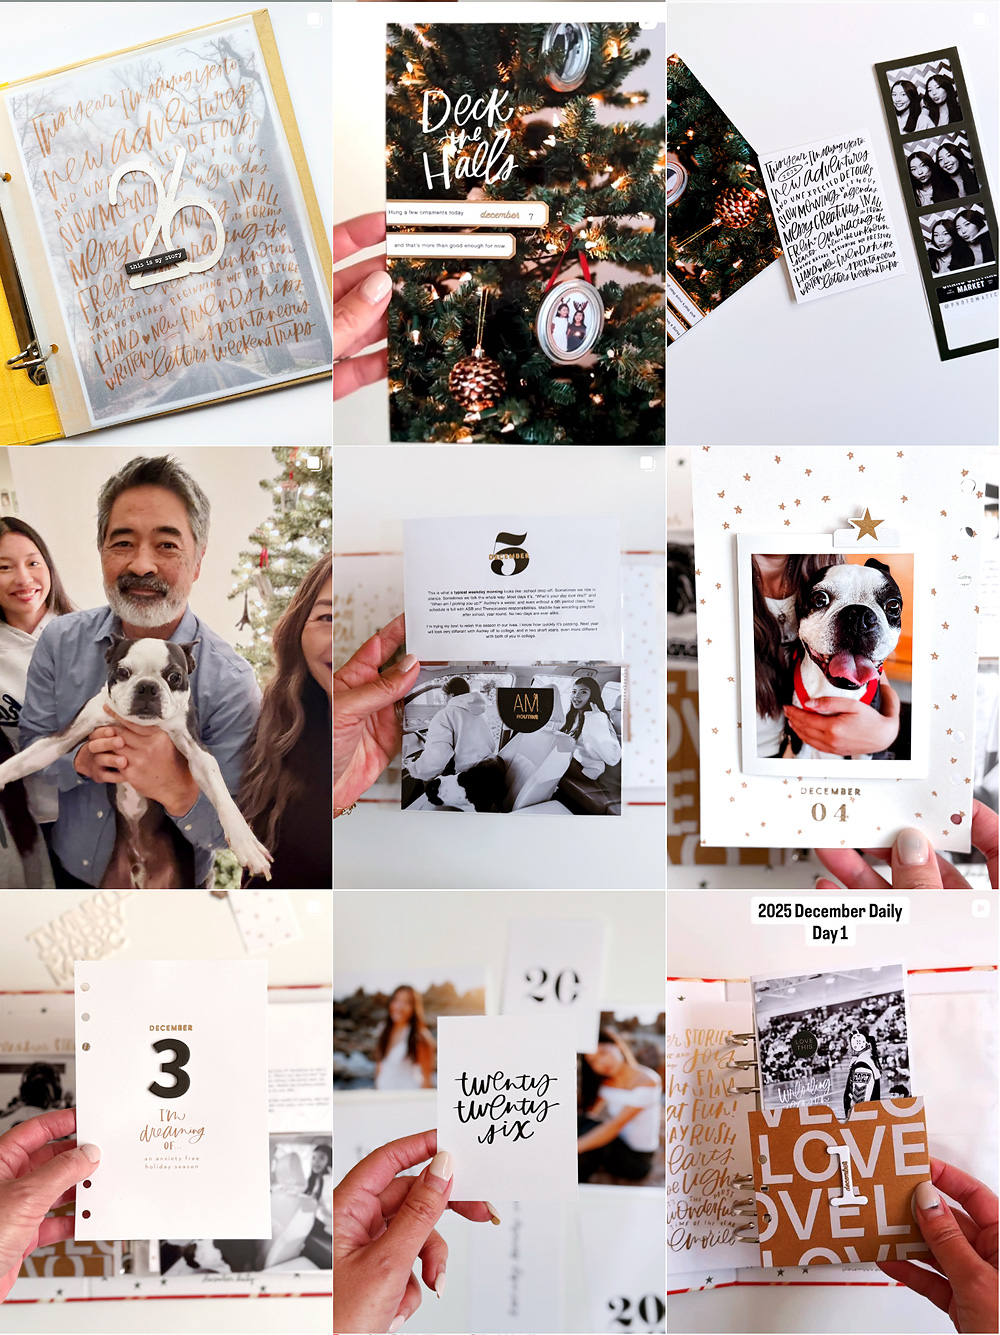
I just returned from the MOST inspiring trip to the Philippines. There was color everywhere you looked and I wanted a book to capture and celebrate that and I knew Liz’s Artiste papers were the perfect ones for the job. I also grabbed a few other papers and cards as their colorful patterns were irresistible.
Supplies:
Artiste
Joie De Vivre
Bits & Pieces
Way Back When
Embellishments: Messy Box from A Beautiful Mess

To get started I opened all the papers I wanted in Photoshop and arranged them on pages (the size of my printer paper) in various sizes. I wanted the book to be a bit messy and have mismatched page sizes in it. I calculated out how large I wanted the book (6×8) and then made the pages a bit smaller than that with the cover page being two 6×8 papers side by side. This is the most ‘complicated’ part of the book and it’s not really complicated at all. I arranged the cards/papers side by side at the sizes I wanted. You can see in the bottom left corner (the pink and yellow) will be a ‘set’. So both of those cards are sized at 3×4 and they are pushed right up to one another, so when I cut them I will cut them out as a 3×8 piece, then fold it in half to make the booklet style page as 3x4s again. Make sense?

I repeated this process over and over until I had about 6 card sets which, when folded, made 12 front/back pages. I made 3 sheets of paper with ‘planned’ out cards and then 3 that were more random. I simply paired a few larger patterns together to cover the whole page and just left it to chance as to how they would look when they were cut according to the front sides measurements.


Then, just cut and fold!

I laid out my papers and played around with different spacing and orders until I was happy. One tip is to make sure to have enough variation in your paper sizes. Try to get them to range from really large all the way down to really small to add interest and variety in your book so that pages are peeking in and out and not all uniform.


Now to prep your photos. Do whatever is easier for you, but I use Photoshop and print at home. It is important to print your photos at sizes that will fit into your book. A lot of the photos in my book are 2.5×3.5 in and 2×2 and other small, strange sizes, but it is what works best with this small and funky sized minibook. Again, the more variety in your photos the more interest and uniqueness it will add to your book! You will want to print them smaller than your pages, as you want to be sure your pages still shine through.


Now, the fun part! Add in your photos and play around with placement until you are happy. Think outside the box and add them in unique ways to get the most out of your space and make your book as interactive as possible. One of my favorite tricks is to make the photo hang off the edge of a page and wrap the back of the photo that is showing in washi tape.

Once you’re happy with the photo placement, go through and at least adhere your photos. You will find that it is easier to work on the book while it is unbound, but I tend to embellish and journal once the book is bound. I bind these books simply by hand stitching and tying a bow with embroidery thread, but you certainly get really fancy. I hope this quirky little book will spark some new ideas for you on how to use those digital papers and cards. I can’t wait see what you make! Make sure to tag me if you share on instagram @laurenlikesblog so I can see. Happy Making!
Lauren


This is GORGEOUS, friend. You do colour in a way that I never could. LOVE the mismatching. Think I’m going to try it. Nervous, but I can’t deny that those peeking pages look beautiful.
Lauren, I love it!!! But I am so intimidated by anything digital. Maybe I can make one with my own papers? I thought those papers looked a lot like your own designs. 🙂