
Sup guys! It’s Caylee.
For me the biggest hurdle to getting started on a photo book is the beginning. I like to go in totally organised otherwise things don’t work well for me and I take far more time than I need to. This is my process for keeping photo book sanity.
1. Organise and prep your photos

It’s up to you how you want to organise them. Since I’m doing a Week in the Life photo book, I left it as my default photo organisation, which was simply split into days. If you’re doing a wedding photo book, you can split it into folders by Pre-Ceremony, Ceremony, Reception, etc. If you’re doing a photo book on a trip you can split it into folders organised by location. Up to you.

Go through your photos and adjust brightness and contrast according to your style. Crop. Delete any photographs that don’t make sense, or are duplicates.
2. Decide on your printer and photo book

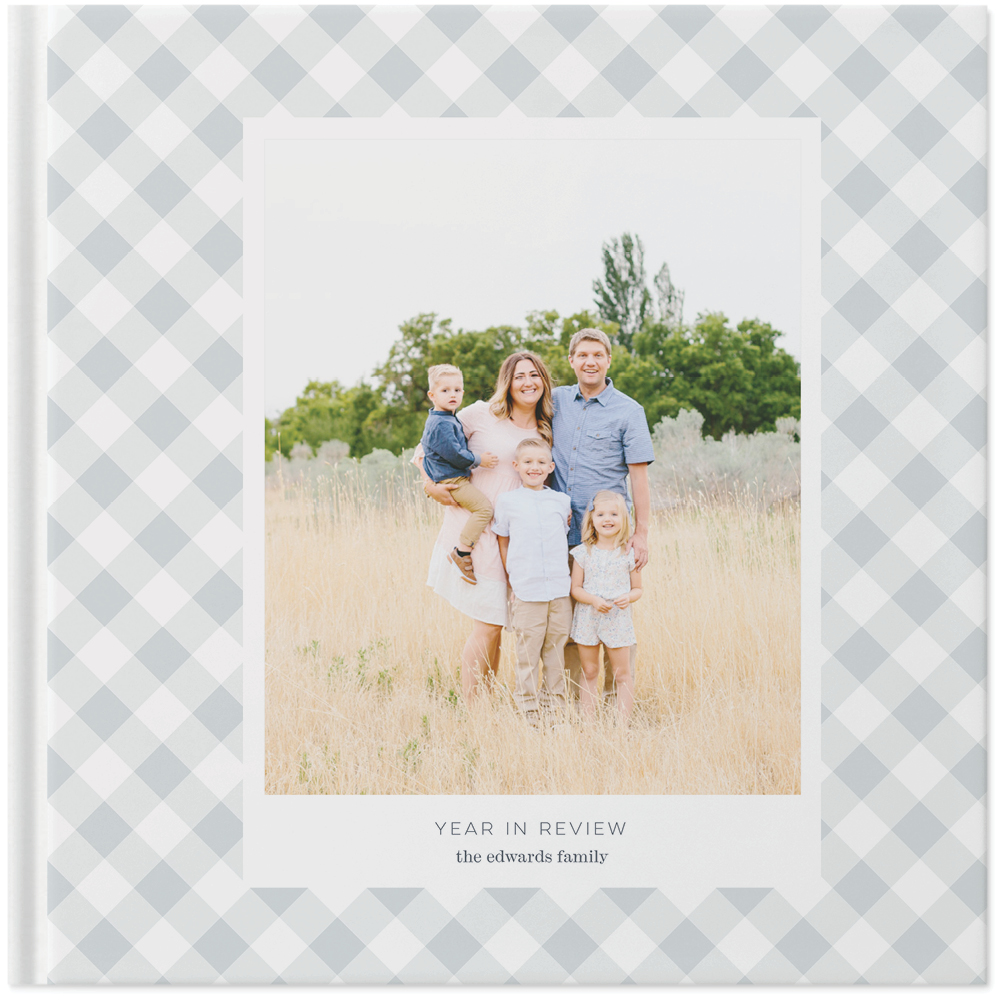
This is based on personal preference. I adore MILK/Moleskine and chose their Classic Landscape Photo Book. When choosing, keep in mind the orientation (if most of your photos are taken in landscape, then a landscape book is better, if you have an equal mixture then perhaps a square book would work well), size (it helps to cut the different sizes out in newspaper so you can get a feel for them in your hand), page count (if you only have 10 photos, don’t choose 200 pages! some books have a minimum or maximum so keep an eye out), and quality.
3. Prepare a template

Based on the size that you’ve chosen, start a new document in your program of choice. I’m using Photoshop CC and the size according to the printer’s website. Make sure that your resolution is 300 pixels/inch or higher.

Save that template.
4. Do the design bits


I was keeping it simple this year – black on white paper. I used the Days word art for each day.
5. Get the photos in and have fun!

Upload all of your photos into your photo book editor. I like to start at the beginning and work my way through. Since I’ve done the hard work in terms of the design prep, this goes relatively quickly as it’s simply moving the photos onto a page.
So that’s my super easy process for prepping a photo book before I get into the actual software. Do you have any prep tips or do you simply dive straight in?
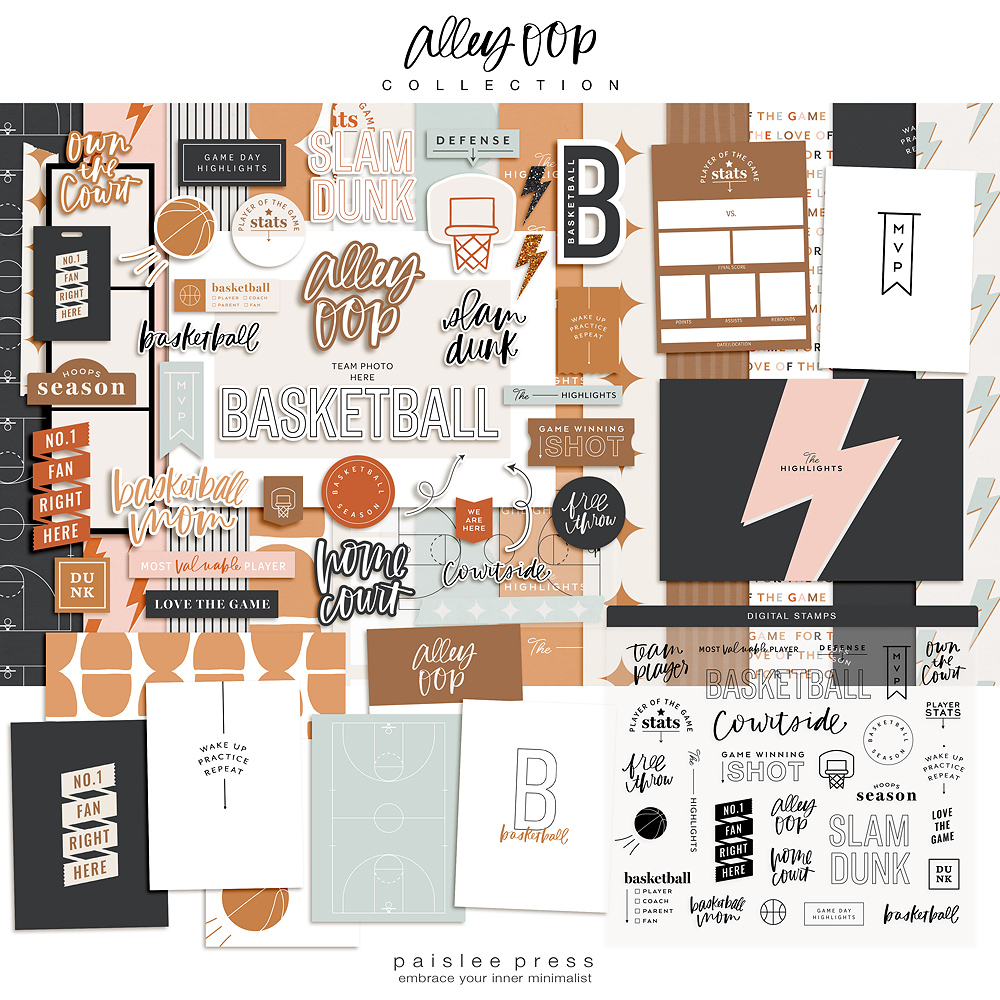
Products: Days 4×6 Photo Templates & Journal Cards
♥ Caylee
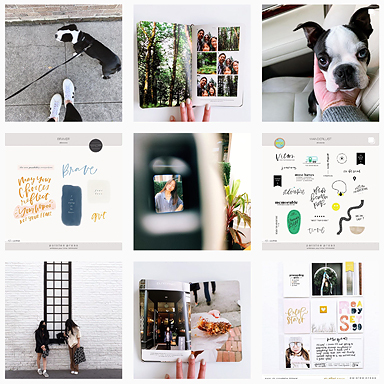
You can see previous Paislee Press projects, or find more bits of me on Instagram, and my blog.


Amazing Caylee 🙂
I have to start this right away 🙂
[…] Inspired to make photobooks after this . […]
oh, what a fantastic find – thank you for detailed organisation tips! Thinking of doing my son’s first 7 years in a moleskin – by 21 he can have 3 small journals that can travel 🙂 just to get them to SA…