It’s been a while since I’ve written a post on photo processing. My workflow has changed so much (no more editing in photoshop!) and so has my taste and style. Nowadays, photos are processed either in Lightroom (when I’m on my computer) or in the PicTapGo! app (on my phone).
When editing in Lightroom, I usually just make minor adjustments (exposure and white balance) or reach for my go-to presets: Replichrome by Get Totally Rad. The black and whites presets are my absolute FAVORITE.


For b&w conversions, Kodak Plus-x 125– and Kodak T-Max 3200 are my my go-to. I tend to go through phases, where I heavily favor certain presets. Right now I’m really digging the moody feel of the Plus-X 125–.
For color photos, I’m trying not to do too much processing. Again, just basic adjustments of exposure and white balance.
I usually also apply Curve #2 (slightly faded look) or Curve #3 (brightens the image).
The neatest thing is being able to match up my Lightroom processing of DSLR photos with photos taken and edited on my phone.
The image below taken with the iphone and edited in PicTapGo (filters used: auto color, brightside, high fives). Obvious differences aside (quality of phone image vs a DSLR image), the tones and coloring are a pretty close match to the DSLR image (above)!
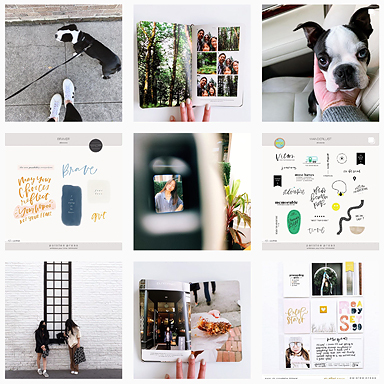
I like to incorporate both DSLR and smartphone photos in my Project Life (and other memory keeping projects). Having the tools that gives me the ability to produce the same look across different platforms is a really good thing.


Thank you for this. I have always wanted to know how you edit your photos. Such perfection.
Thank you so much!
Thanks so much. Very helpfull.
Thank you 🙂
Thanks for this, Liz! Especially for your PicTapGo recipe. Love it! Which iPhone do you use?
Thanks Melanie! I’ve got the iPhone 6 🙂